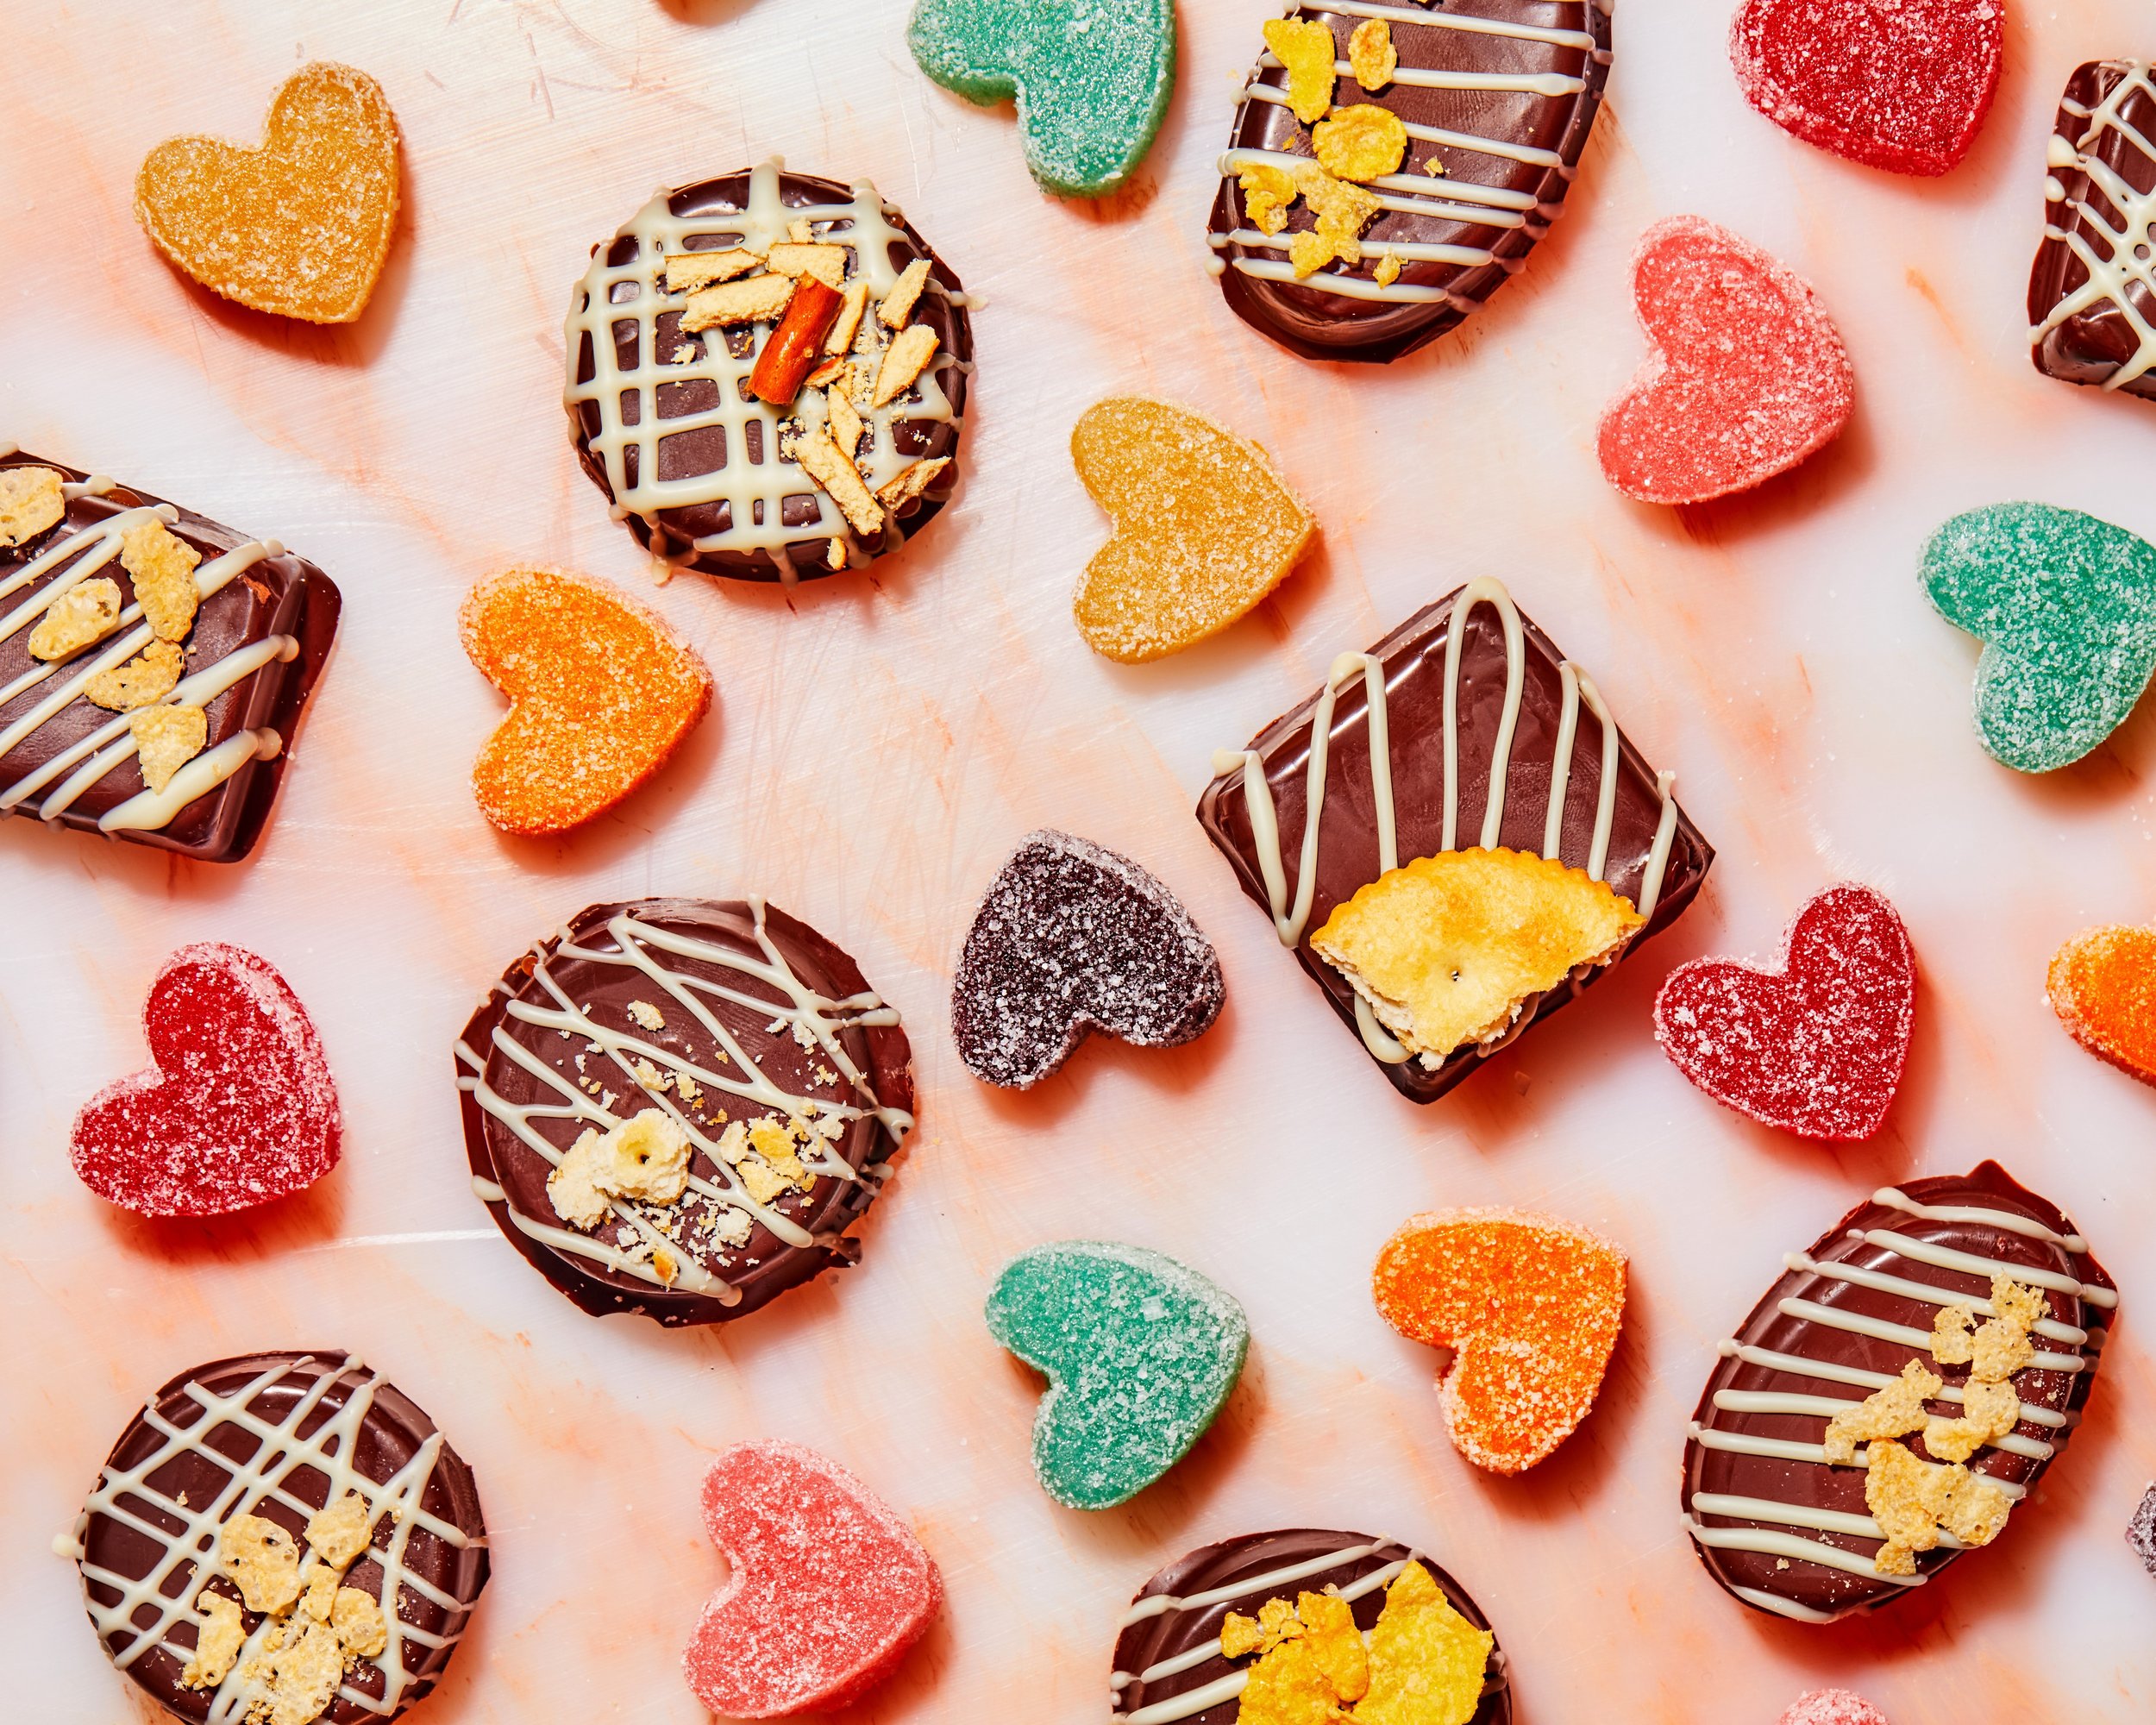
Sour Gummy Hearts
Pâte de fruit (pronounced: pat-duh-fwee) is a classic French fruit candy (literally translated: fruit paste), made by cooking down fruit puree and stabilizing it with fruit pectin, sliced into squares and tossed in sugar. Here, we use powdered drink mix in place of most of the fwee to amp up and concentrate the flavor, then toss them in citric-acid-spiked-sugar for a sour punch. Think of these as a cousin to the pâte de fruit, but like, their cool cousin, who skateboards or something. These are sticky, chewy, mouth puckeringly sour with a sweet finish – you’ll want to save them all for yourself, but don’t, or actually, do. You will need:
1 recipe Sour Gummy Hearts
1 recipe Sour Sugar
Yields:
about 30 1” x 1” candies
Bonus recipe:
Do you still have a leftover candy tray from a box chocolates? Check out the recipe for DIY Chocolate Caramels below
♡♡♡♡♡♡♡♡♡♡
-
Ingredients:
1 + 3/4 cup granulated sugar (separated)
¾ cup + 1 tsp water (separated)
½ cup powdered drink mix of your choice (pink lemonade, blue razz, cherry, etc)
¼ cup lemon or lime juice
2 Tbsp corn syrup
1 Tbsp + 2 tsp powdered pectin (see note below)
½ tsp citric acid (note substitutions below)
Pinch salt
Sour sugar coating:
½ cup sugar + 2 tsp citric acid (or substitute more of your chosen drink mix).
A note on pectin and citric acid:
Citric acid: you can substitute 1 tsp of powdered Emergen-C of any flavor for the 1/2 tsp citric acid listed (yes, really! That stuff is basically all citric acid, the more you know!). In a pinch, you can also replace the citric acid within the recipe with an additional 1/4 cup lemon or lime juice added at the very end of cooking, but be warned this may affect the setting power of the pectin.
Standard powdered pectin: powdered pectin is available in the baking aisles of most grocery stores and is very cheap! Don't be intimidated. Below are notes on other pectin types, but if you use them they will not yield quiiiiite the same result.
If using liquid pectin: use two 3 oz. pouches in place of the listed amount of powdered pectin. Add the full amount of sugar to the pan instead of dividing, add liquid pectin when mixture comes to a boil – proceed as normal, but note: liquid pectin typically has stabilizers in it to prevent over-gelling, and since what we’re doing here is trying to over-gel sugar + water, the candies will have a slightly softer set and will not be as chewy and will feel more “jammy” than they would be if you used powdered pectin.
Low sugar pectin (such as Pomona’s): I don’t recommend a low sugar pectin for this recipe, as frankly, this recipe is not low in sugar. Low sugar pectin uses a calcium solution to set rather than sugar and acid, so it tends to yield a slightly different result and requires a different proportion of pectin. If it’s all you have there are conversions online!
Method:
Prepare candy molds or a 9” x 3” loaf pan by spraying liberally with non-stick spray.
Measure out pectin and ¾ cup of the sugar into a small bowl and mix until homogenous, set aside. (note: it’s best to measure out all ingredients for this recipe ahead of time – when the candy is ready the process will move quickly before they start to set!)
In another small vessel (the smallest you have) mix together citric acid and 1 tsp water, mixing well to dissolve the acid. Set aside.
Add the remaining 1 cup sugar, ¾ cup water, corn syrup, and pinch of salt to a medium sized saucepan and set over medium heat.
Stir mixture with heat proof spatula regularly until it comes to rolling boil, then switch to a whisk and sloooowly mix in your pectin/sugar mixture, whisking constantly to avoid any clumps of pectin forming.
Bring back to a boil – then lower your heat a bit to prevent scorching. Stir or whisk this mixture very often (also to prevent scorching).
Boil your sugar mixture until it reaches 245 degrees. Pay close attention to your temperature here, try not to go over 245 or it can greatly affect your candies. This should take about 10 - 15 minutes. The mixture should also take on a slight golden color and thicken into a syrup-like consistency.
Immediately remove the sugar from the heat when it hits temp and whisk in the drink mix until homogeneous and fully colorful (no streaks of plain sugar).
Add the dissolved citric acid mixture and whisk to incorporate, but note: once the acid is added the pectin will start to set and thicken, so work quickly! The power of chemical reactions has no time to wait!
Depending on your chosen drink mix the candy will take on a slightly different consistency, but it should firm up into a thick paste pretty quickly. Despite how thick it is, this mixture will still remain extremely hot! So be careful.
Dollop candy into the prepared mold or spread into bottom of prepared pan. Bang pan on the counter a few times to burst any air bubbles and settle the mixture. Spray an offset spatula or bent spoon with more non-stick spray and you can smooth the top until level.
Allow to set for at least 4 hours, uncovered, at room temperature (or better yet, overnight).
Once set, mix your sugar coating in a medium bowl (or, use more drink mix as mentioned above).
Pop candies out of mold directly into the sugar, take care as they will be sticky!
If using a regular pan: grease a cutting board with non-stick spray, then flip the pan over onto the greased surface. Use more non-stick spray to coat your knife and slice into 1” wide strips, greasing the knife again as needed. Then slice each strip into 1” squares, toss in sugar.
Allow to dry out at room temp for a bit before wrapping airtight – or if you can stand to wait, allowing them to dry for a further 24 hours on a parchment lined sheet tray at room temp will increase the chewiness by a bit.
Store at room temp well wrapped for about 2 weeks. Try to store in one or two layers – too many candies on top of one another will end up squished. Candy may absorb coating sugar over time, so re-toss in citric sugar as desired
-
Life is like a box of chocolates: kind of just fine. Don’t get me wrong, a drug store box of chocolates can be very good, but rarely great. So this recipe upcycles the plastic tray from a box of chocolates and lets you upgrade the candies with a chewy, salty caramel (recipe below), your choice of chocolate, and your choice of crunchy filling. That way you can have a box of chocolates that is like life, but… better.
Yield: a little over 2 cups of caramel
Ingredients for caramel:
1 ½ cup sugar
¾ cup heavy cream
¼ cup corn syrup
¼ cup water
4 Tbsp unsalted butter
2 tsp kosher salt
2 tsp vanilla
-
1 up-cycled plastic chocolate tray (from a box of chocolates) or other mold: cupcake liners! Candy molds! Silicone ice cube tray!
Choose your own caramel flavor:
1: coffee caramel: Dissolve 1 tbsp instant coffee in 2 tsp water, whisk into still-warm finished caramel
2: chocolate caramel: Whisk in 2 Tbsp of cocoa powder at the very end of cooking.
3: spiced caramel: Cinnamon! Ginger! Cardamom!
Ingredients for chocolates::
Choice of chocolate
Choice of crunchy crumb (Ritz crackers, pretzels, cookie crumbs etc.)
Choice of decor (more melted chocolate, sprinkles, glitter etc.)
Process:
Measure out the heavy cream and butter (cut into tablespoons) in separate containers and place back in the fridge, it’s best to keep these cold before use. Measure your salt and vanilla into small vessels and also keep close by.
Add the following to a medium saucepan: water, sugar, corn syrup. Mix well with heat proof spatula so all sugar is hydrated then set over medium low heat.
You can stir this mixture until the sugar dissolves IE it turns clear. Once it turns clear, only swirl the pan to prevent crystallization. You can also begin brushing down the sides of the pan with a wet pastry brush to prevent further crystallization along the edges, if you wish.
Continue cooking the sugar over medium heat, this is a nothing-then-all-at-once sort of thing -- your mixture will stay clear for a million years, then seemingly out of nowhere it will start to turn golden in color. This is the point where you need to pay close attention or risk burning all your hard work. This may take 15 or so minutes, maybe more depending on your stove.
Once the mixture begins to take on a golden color, make sure to gently swirl the pan often so the sugar does not caramelize all in one place. At this point, bring your butter and cream out of the fridge and keep nearby.
Watch the caramel closely, keep cooking to bring it to a deep, rich, golden brown. When you see the first small whisps of smoke arise from the pan, that’s the moment you want to halt the cooking.
Turn off the heat and remove the pan from the heating element.
Add butter one tablespoon at a time, whisking well in between each until fully incorporated — watch your hands as this will foam up, triple in size, and produce a lot of steam.
Slowly stream in your cream, whisking all the while. Add vanilla and salt.
Return the pan to medium heat and bring the mixture back to a boil.
Allow to boil, swirling occasionally, for about 5 minutes, or until mixture reaches 245 degrees (this step adds some extra chew to the caramel). Only swirl, don’t whisk while cooking.
Remove pan from heat and pour caramel into a heat safe dish or container.
Allow to cool to room temperature before filling chocolate.
Assembly:
Prepare your station: place the candy tray on a sheet pan to catch any excess chocolate.
Melt 1 cup of your chosen chocolate with 1 tsp oil in a microwave safe bowl in 20 second increments, stirring in between each round in the microwave until fully melted and smooth.
Fill a piping bag or Ziploc bag with the melted chocolate, snip the end and begin filling the candy tray with melted chocolate. Fill each cavity about ⅓ of the way up – then set the piping bag aside.
Pick up the candy tray and swirl the chocolate around until it has coated each side of the cavity with a thin layer of chocolate. Then, quickly flip the tray upside down, holding it over the sheet tray to allow excess chocolate to drip out.
Flip it back over and place the tray in the freezer while you prepare the fillings.
Fill a piping bag or Ziploc bag with the caramel – it may need to be reheated in the microwave for a bit to make sure it's soft enough to work with.
Take the candy tray out of the freezer when the chocolate has turned matte and has solidified.
Crumble, break, snap whatever crunchy filling you have chosen into each cavity – ensuring that the crunchy filling doesn't rise above the lip of the cavity.
Snip the end of the piping bag and fill the cavities with enough caramel to cover the crunchies, again, ensuring that the caramel doesn’t rise above the lip of the cavity.
Photos by Caroline Arcangeli
originally published on milkbarstore.com

