Creamsicle Icebox Cake
Ice cream on a hot summer day is a beautiful thing — but standing in line for the ice cream truck is not. Bring the ice cream truck to you with this Creamsicle inspired ice cream cake that comes together in a snap. Creamy, dreamy no-churn vanilla ice cream with swirls and bursts of tangy orange flavor stacked up with Ritz crackers and topped with another ice cream truck favorite, an orange magic shell. Don't even think about turning on your oven.You will need:
1 recipe No-Churn Orange Ice Cream
1 recipe Orange Magic Shell
Something crunchy (I used Ritz crackers, but you could use any cookie or cracker that fits your fancy)
1 standard size loaf pan
Or, choose your own adventure:
-Cherry Vanilla: Swap the Tang for cherry drink mix and crush up some sugar cones instead of the Ritz - serve with whipped cream and a cherry on top.
-Mint Chocolate Chip: Sub mint extract + green food color for the drink mix and fold in some melted and cooled chocolate or chocolate chips while assembling, stack up with your favorite chocolate cookies and some Andes mints, cover with classic magic shell.
-Blue Razz: Sub blue raspberry drink mix and use fruity cereal crunch from the first Milk Bar cookbook in between the layers.
-Arnold Palmer: half and half powdered iced tea and lemonade, stack up with grahams.
Yields:
1 Ice Cream Cake
Orange you glad
-
A note on assembly:
Something I love about this recipe is that you can get creative not only with the flavor but with the look and assembly. A standard loaf pan would be your easiest and safest bet, but you could use a round springform pan, a cake ring and acetate, a deep bowl lined with plastic, a bundt pan, or just a freeform tower on a platter. Below will be the instructions for a loaf pan assembly, but get wild!
Ingredients:
2 cups heavy cream (cold)
1 14oz. can sweetened condensed milk
6 Tbsp powdered orange drink mix (separated)
2 Sleeves Ritz crackers
1 tsp vanilla extract
Pinch salt
-------------
Method:
Line your chosen vessel with plastic wrap or parchment to ensure easy removal.
Pour cold heavy cream into your largest bowl or the bowl of your stand mixer.
If whipping by hand, roll up your sleeves and whisk the cream vigorously for 4 - 5 minutes, until it’s stiff, fluffy, and holds its shape. If using a stand mixer, whip on medium high until the same stage is reached, about 2 - 3 minutes.
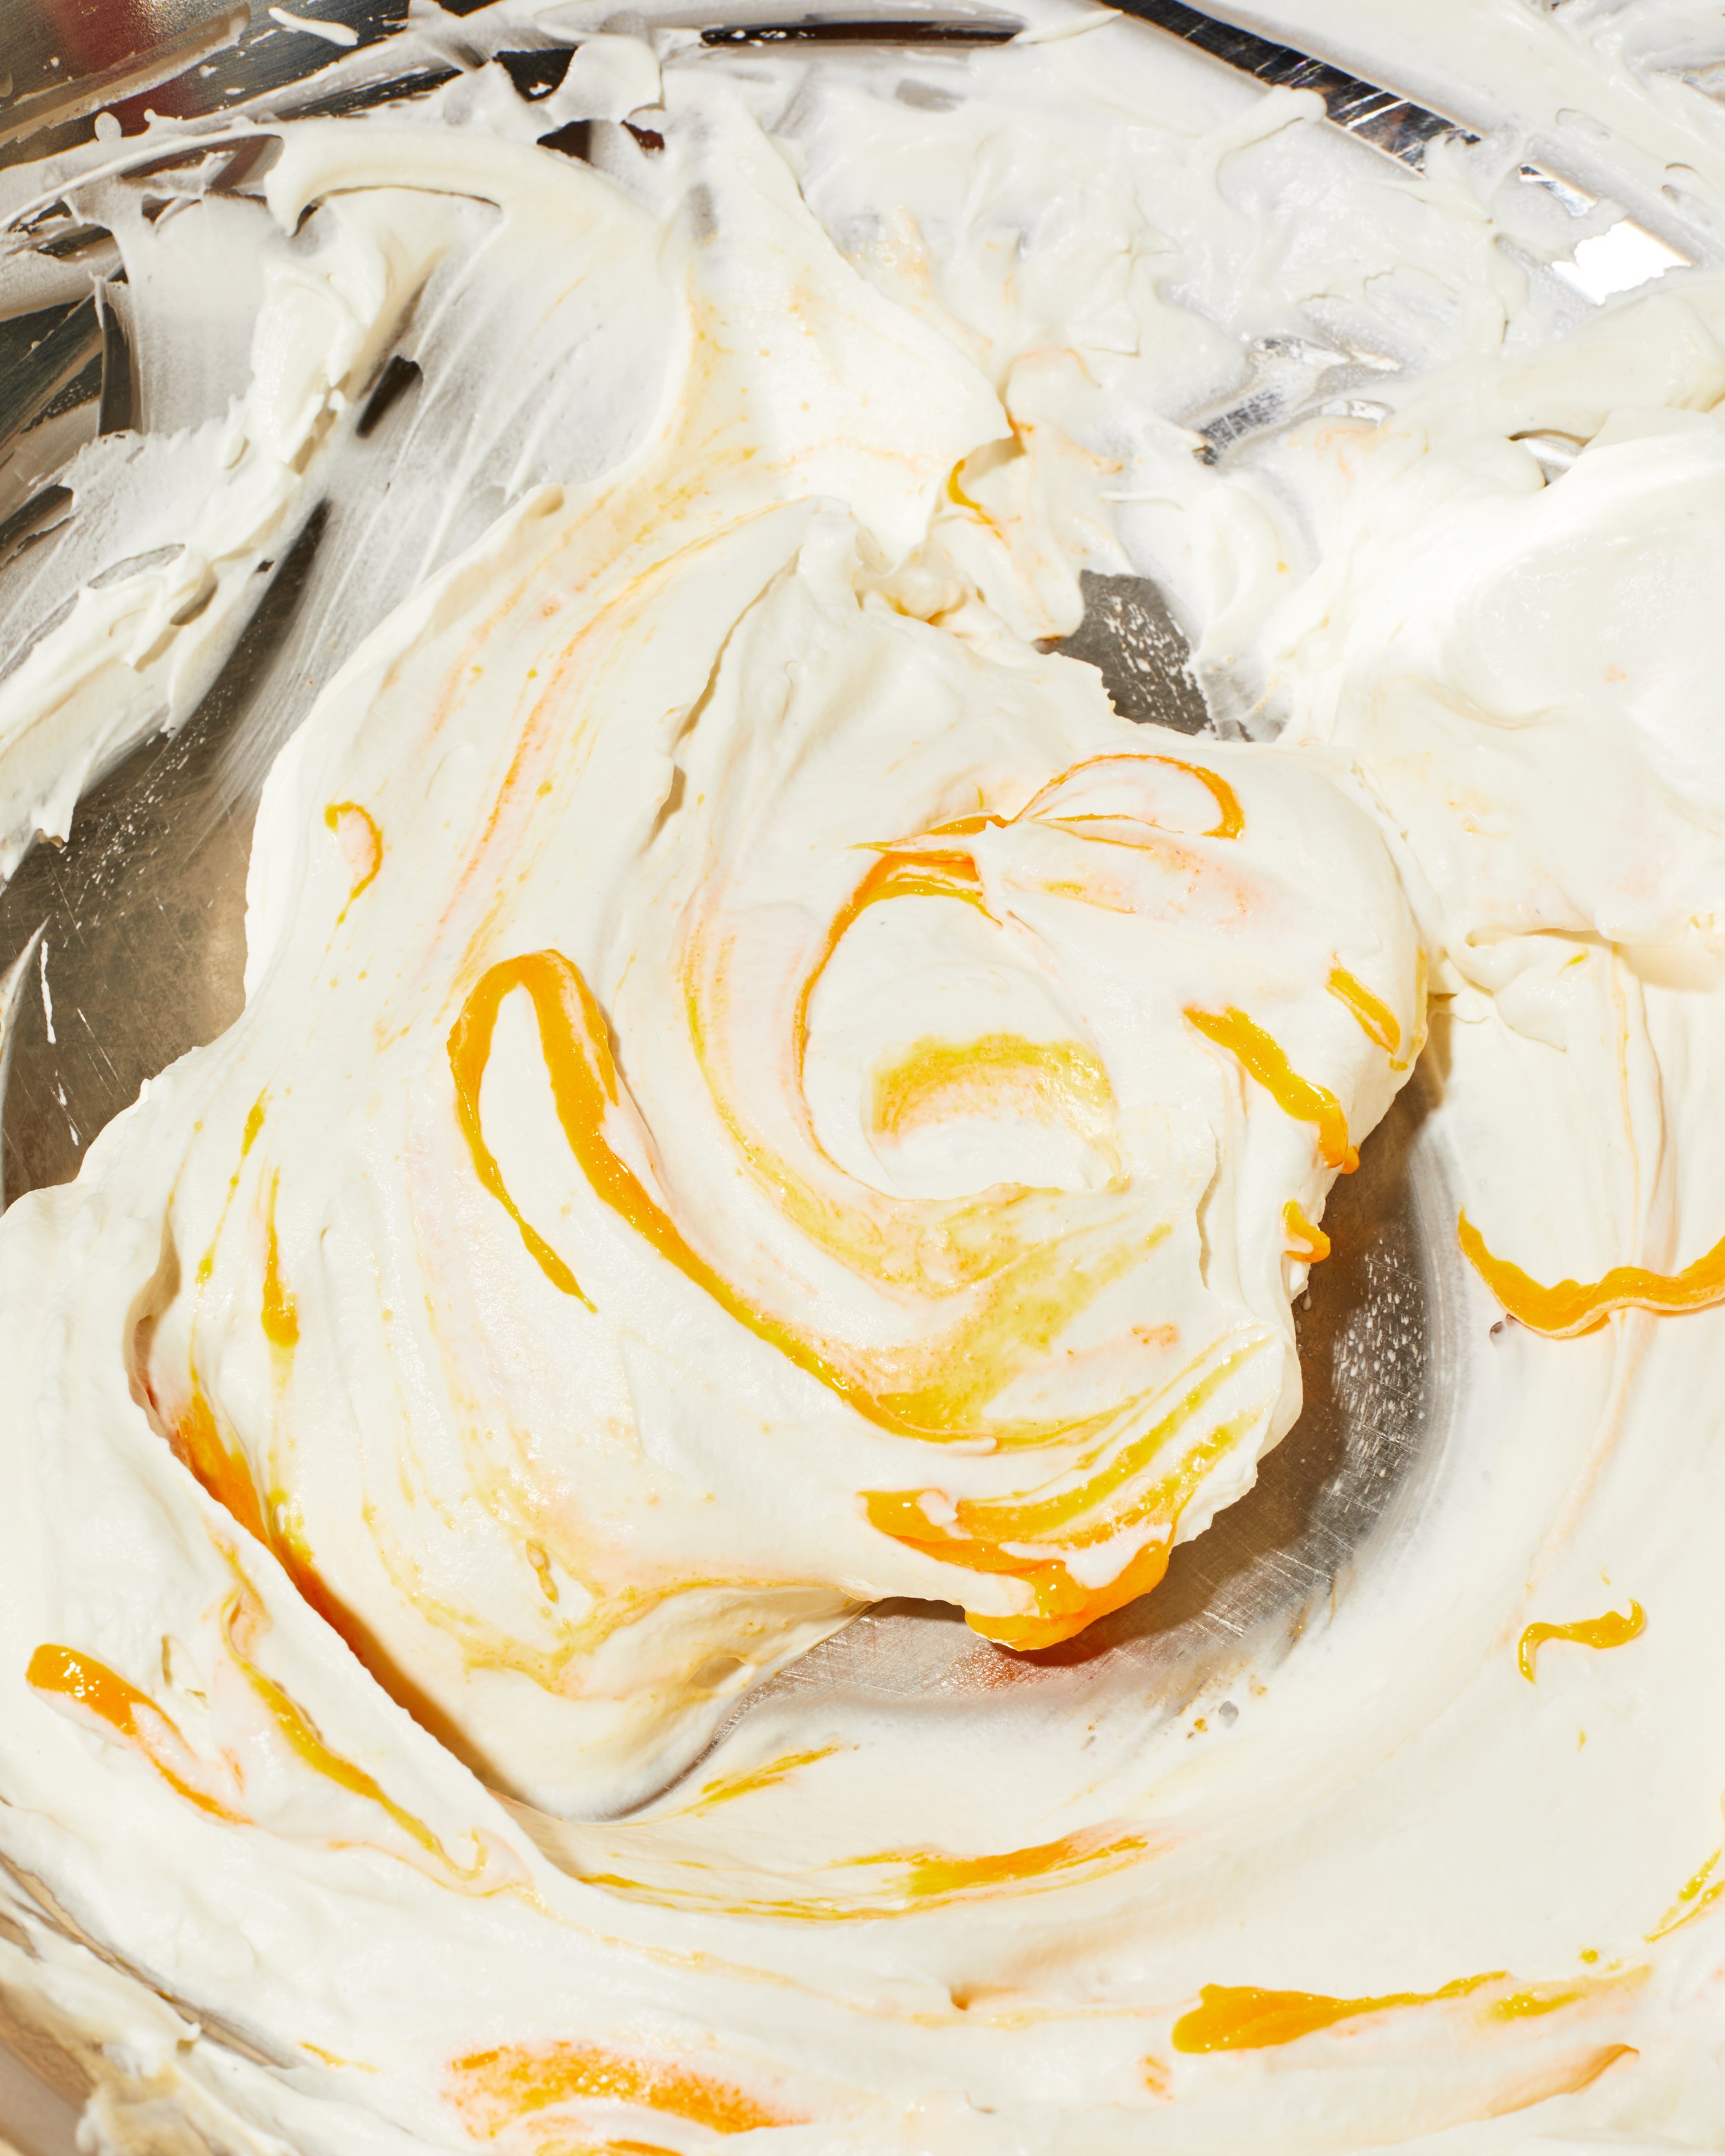
Pour one fourth of the can of sweetened condensed over your freshly whipped cream, then, using a rubber spatula, gently fold in the milk until few streaks remain. Then add a further one fourth of the can, 1 tsp vanilla extract, and salt, folding until incorporated. We want to preserve as much of the air in the whipped cream as possible!
Into the now half full can of condensed milk, add 3 tbsp of your powdered drink mix. Stir within the can until the mix has been fully absorbed into the condensed milk and is bright orange.
Pour remaining condensed mix mixture over whipped cream and fold in until only HALF incorporated (we want to leave some orange streaks in the mix for that creamsicle vibe.)
Assembly:
Add about one third of your creamsicle mixture to the bottom of your pan and spread with the back of a bent spoon to cover.
Sprinkle a further 1 Tbsp drink mix evenly over the surface of your spread whipped mixture for an extra tangy kick.
Arrange crackers evenly over the surface of your mixture (you may have to break a few) I like to do 2 layers of crackers per application in the middle, then end with 1 layer of crackers. .
Repeat crackers and cream back and forth for a total of three cracker layers, and three of cream, ending with a single layer of crackers on top.
Cover with more plastic wrap, and place pan in freezer for at least 6 hours, until firm to the touch (or better yet, overnight)
When ready to serve, remove the plastic wrap on top and invert the loaf pan onto a plate or platter and lift the pan off of your cake, remove rest of plastic wrap.
Pour your orange magic shell over top of your cake, letting it run down the sides and form a shell.
Place back in the freezer for 2 - 3 minutes to allow the shell to fully harden.
Slice and serve!
Cake (minus the magic shell) can be made up to a week in advance, just make sure to wrap extremely well in plastic wrap and keep it in the container you built it in to avoid any off flavors seeping in from the freezer.
-
Ingredients:
½ cup white chocolate
2 Tbsp refined coconut oil (to avoid the coconut flavor)
1 tsp orange extract
Orange oil based food coloring (alcohol or water based food coloring will leave you with a streaky finish)
Method:
Mix coconut oil and white chocolate together in a microwave safe bowl and microwave in 15 second increments, mixing well in between each round, until melted and fully homogenous.
Add food coloring bit by bit until the preferred color is reached, then orange extract. Mix until homogenous.
Make shell just before use.
Photos by Caroline Arcangeli
originally published on milkbarstore.com

