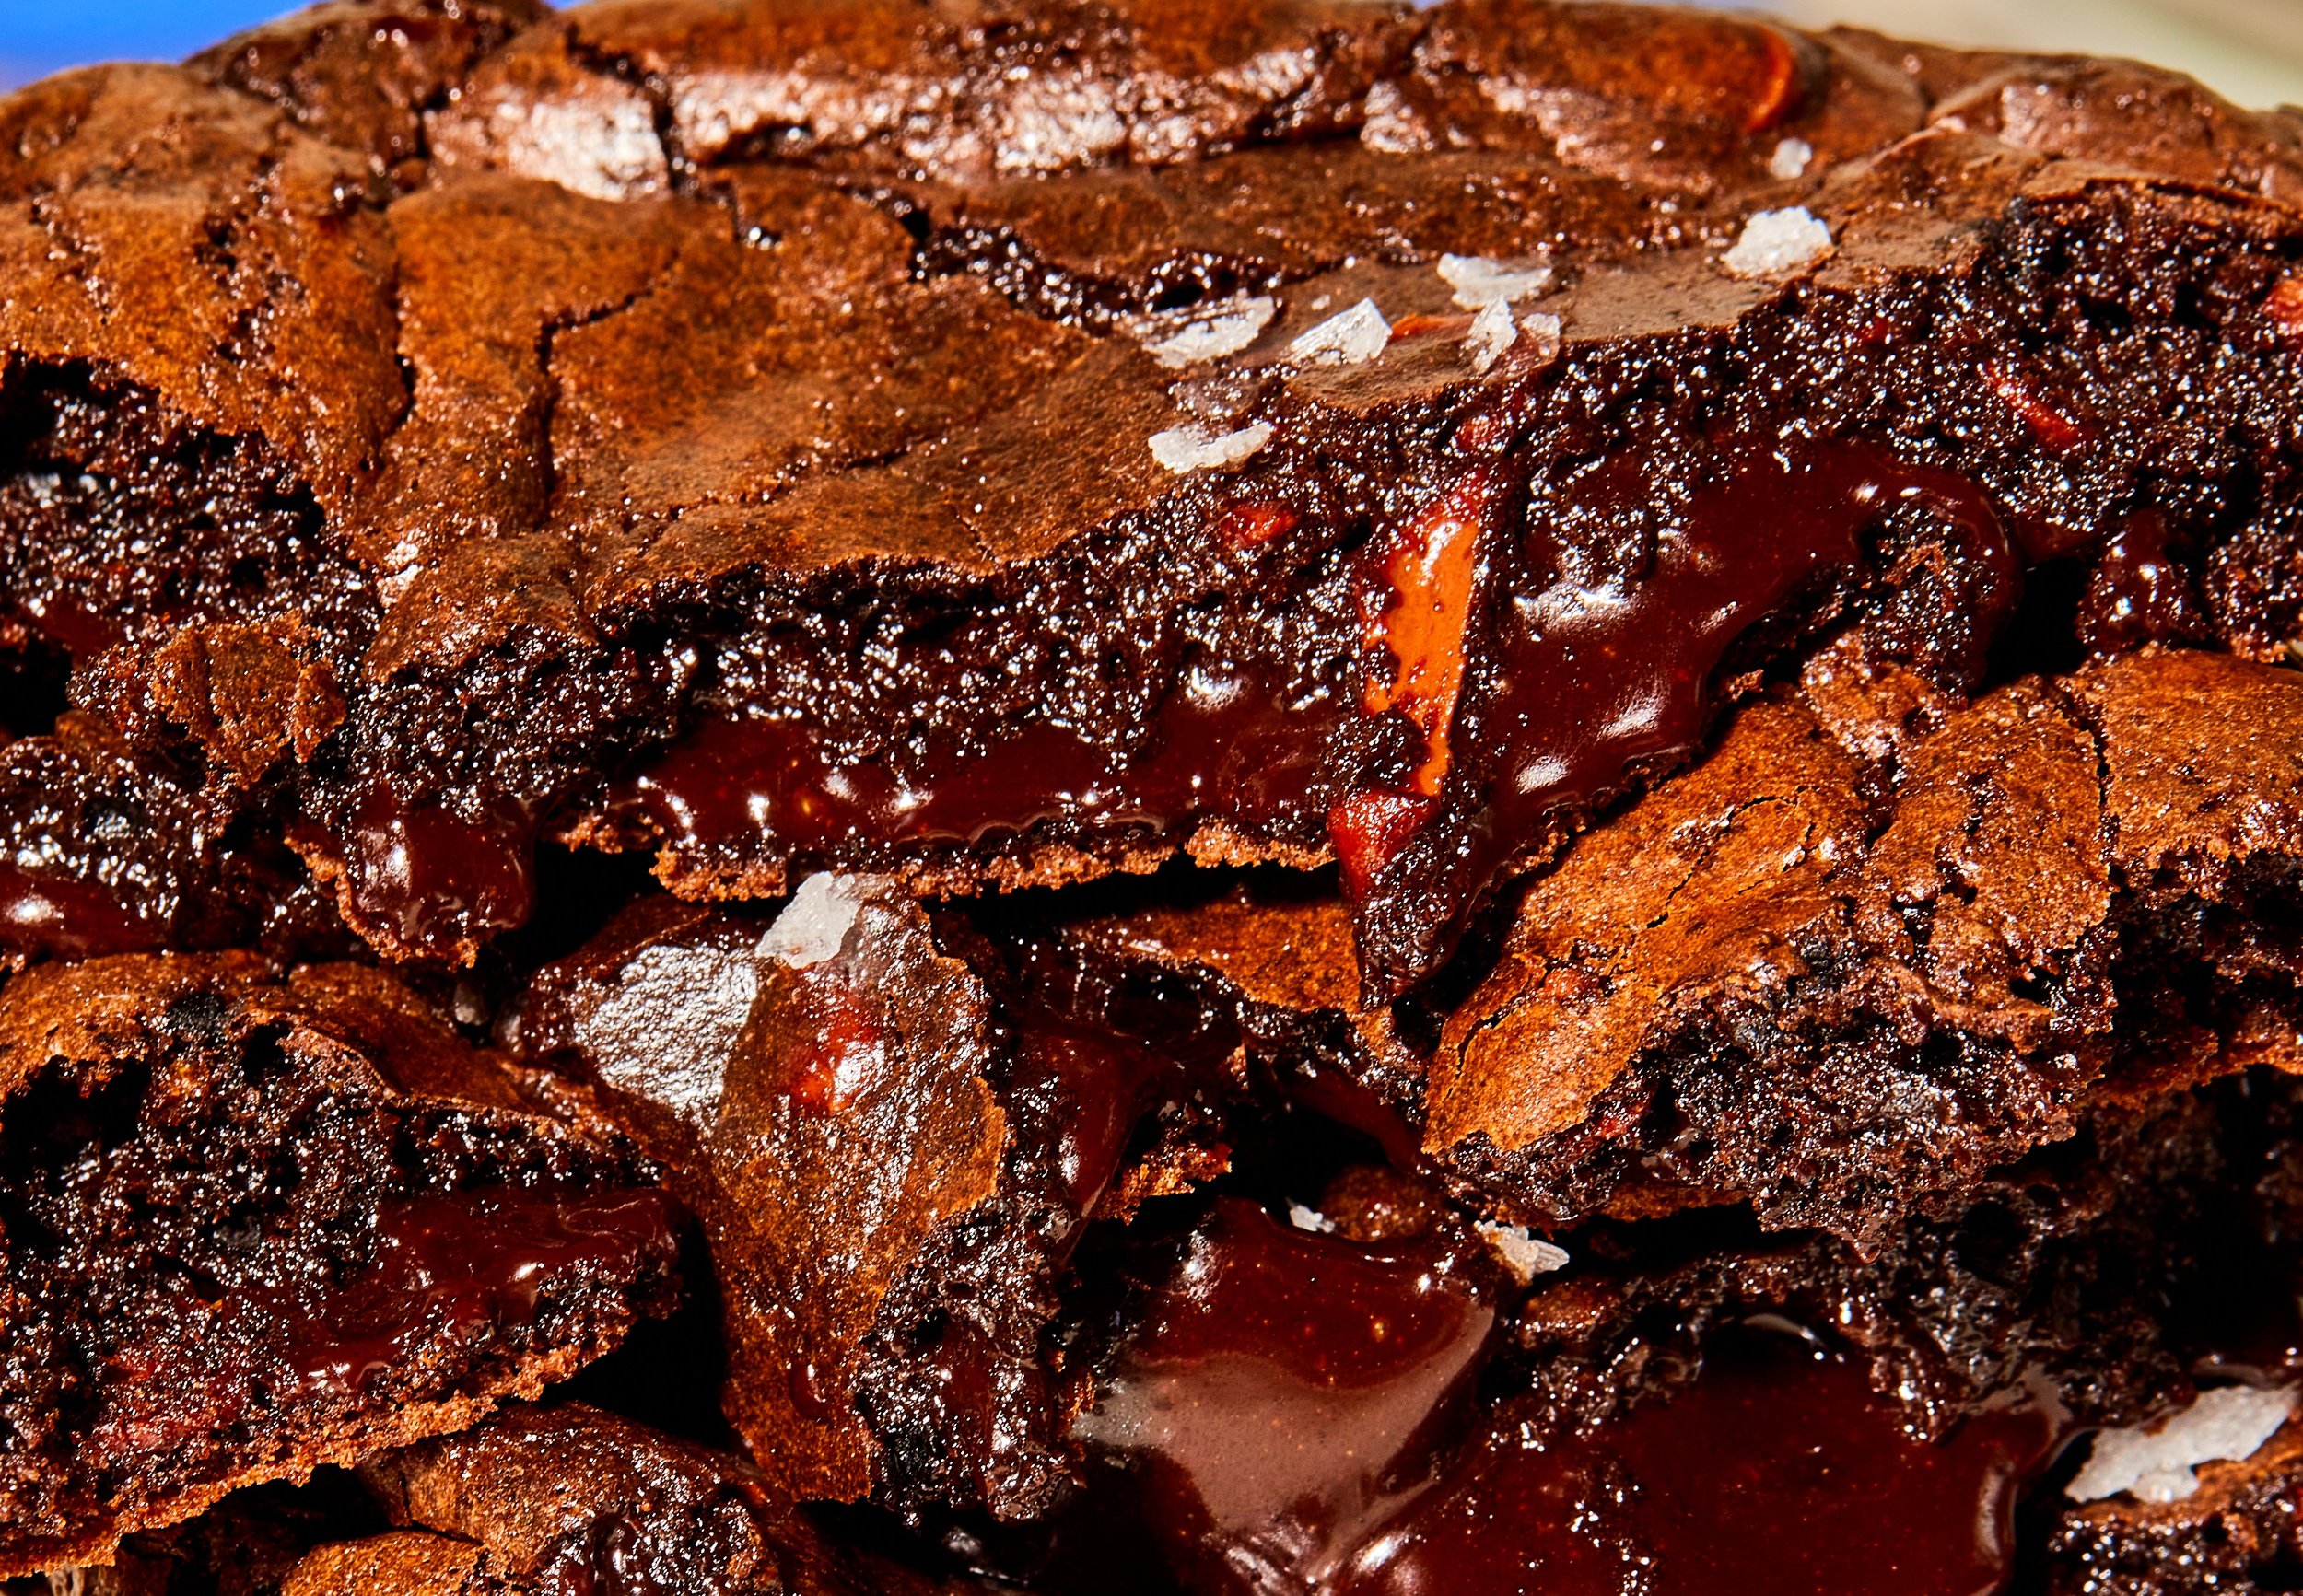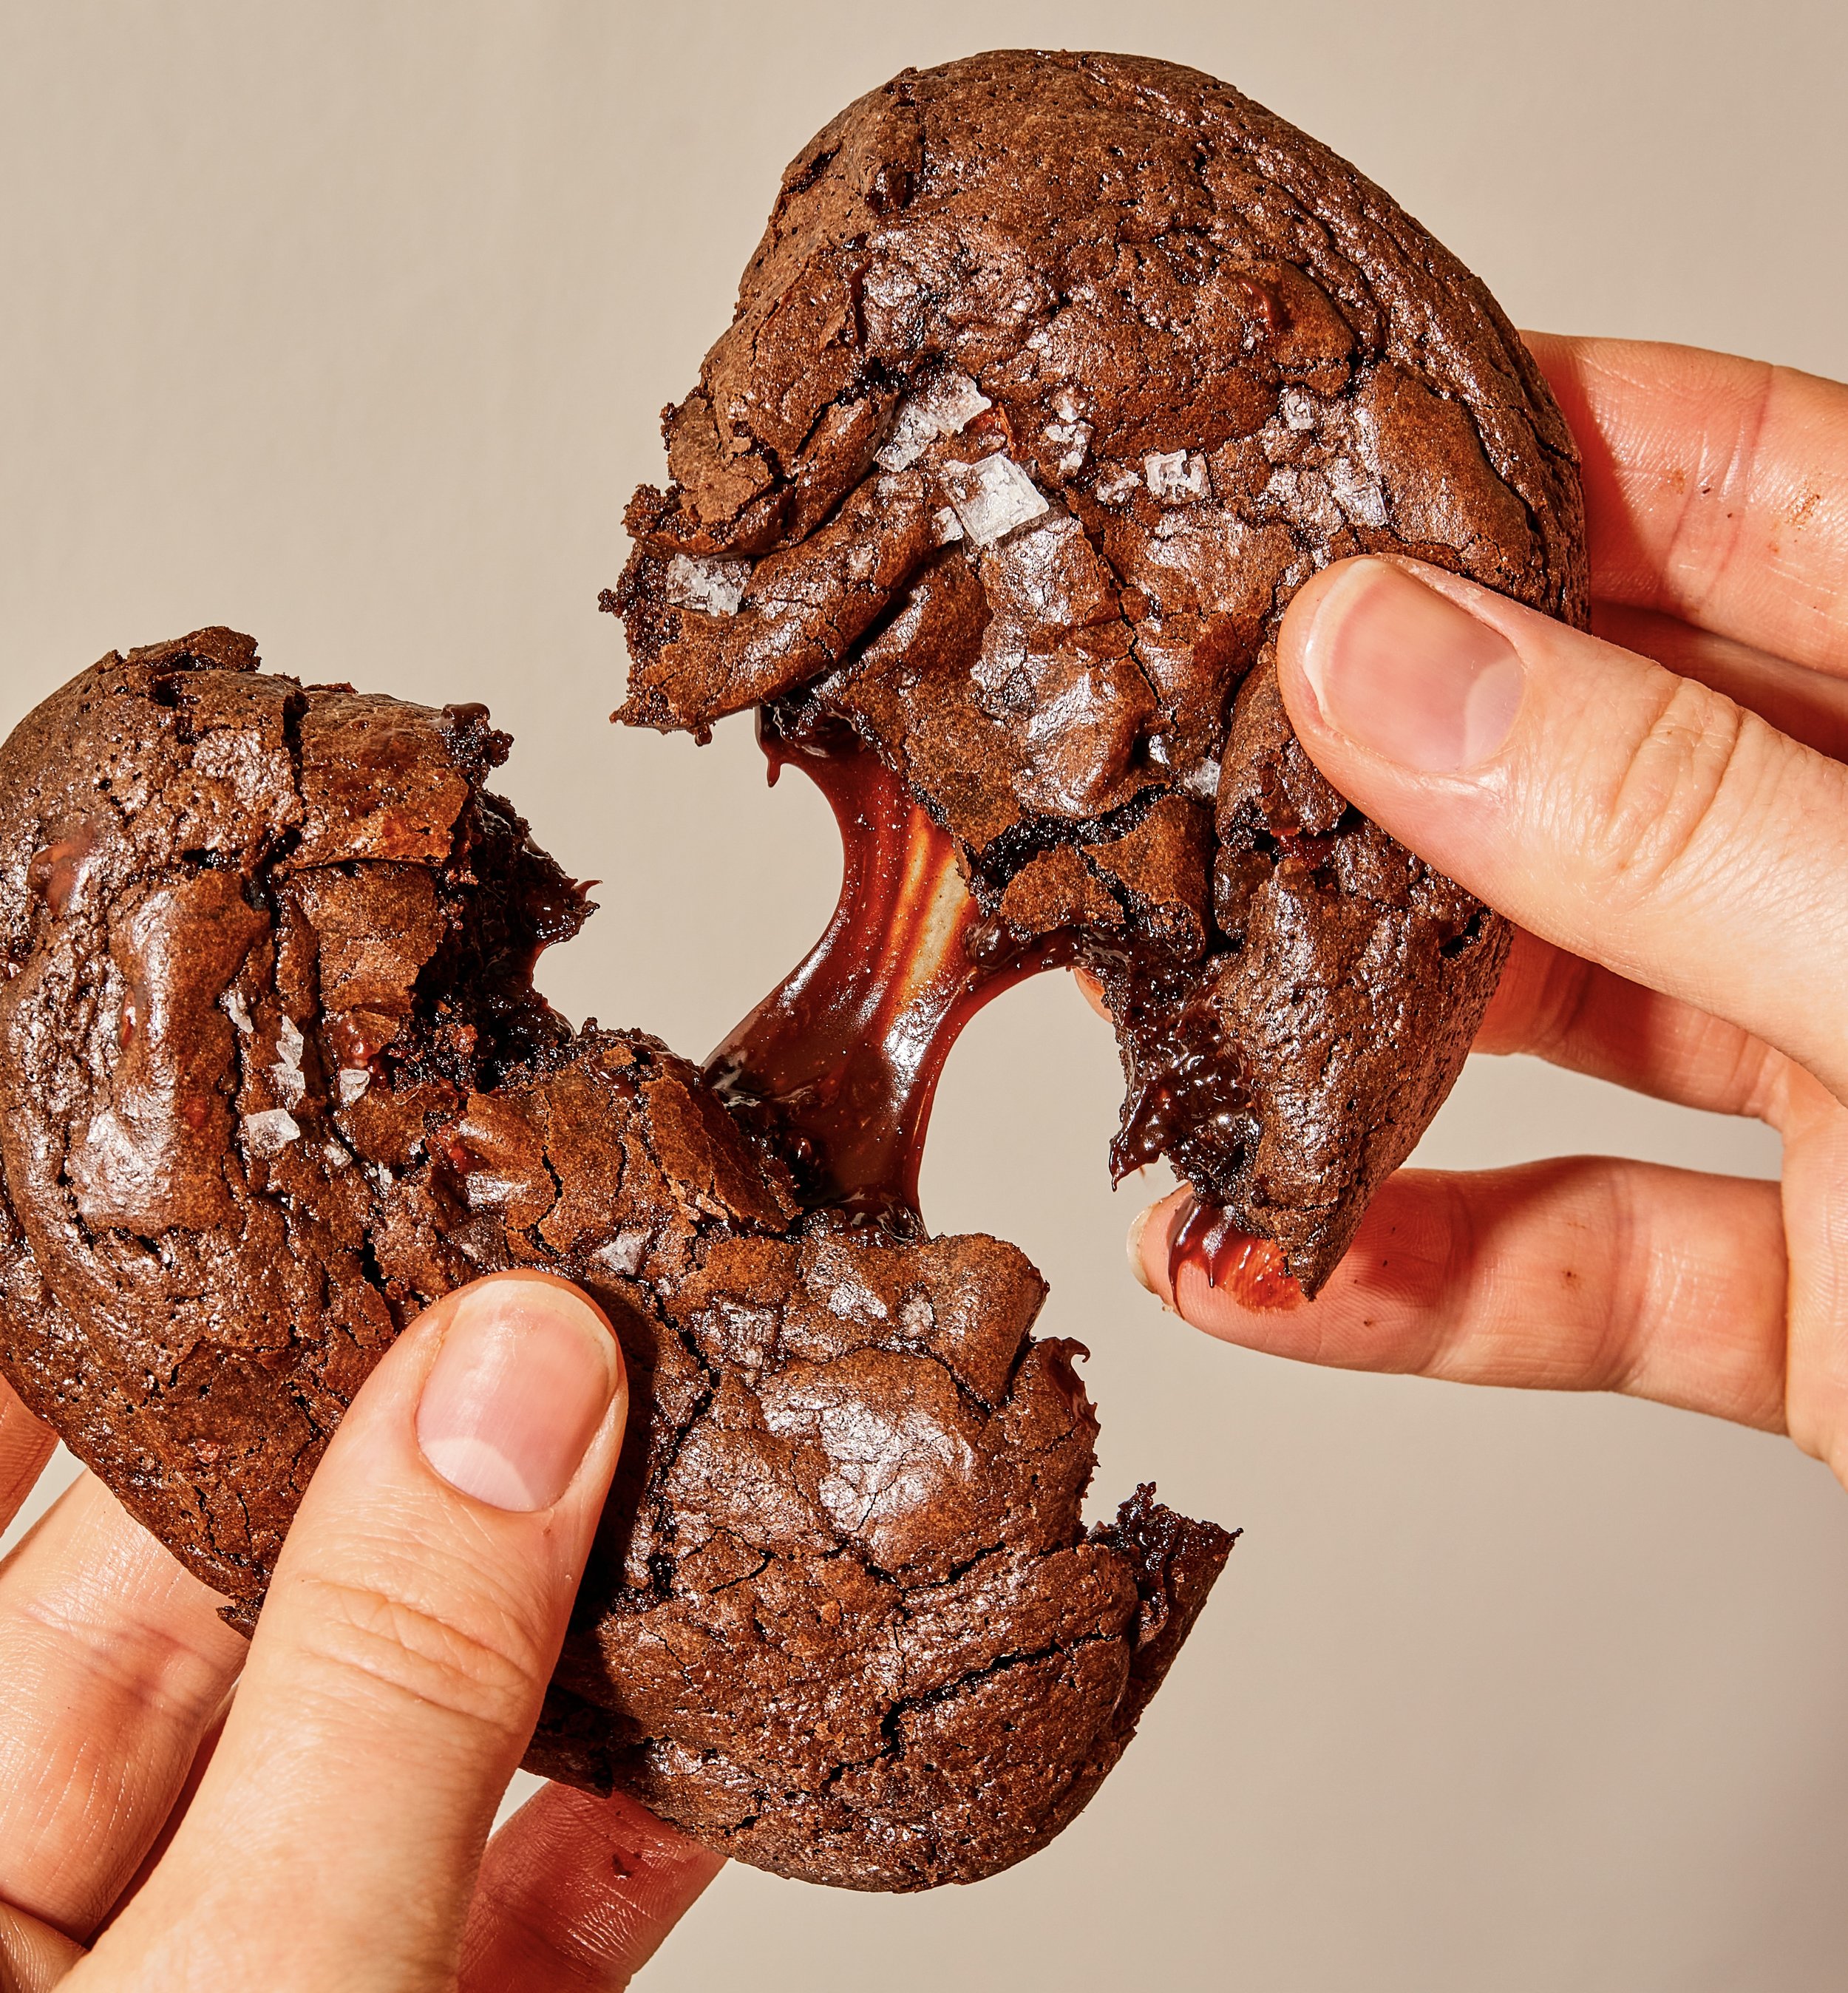
Broken Heart Chocolate Lava Cookies
For the heartbreakers or the heartbroken.You will need:
1 recipe Brownie Cookie Dough (portioned and chilled)
1 recipe Fudge Filling (chilled)
flaky salt (optional)
Yields:
16 cookies
XOXO
-
Part cookie, part brownie (but mostly brownie), this cookie “dough” really resembles a thick brownie batter before chilling, so take care to give yourself ample chilling time. The internet says that the elusive papery brownie-y skin on top you come to expect of a brownie is due to how you whisk together your eggs and sugar, and while I can’t elaborate on the science of that, don’t skip this step.
Ingredients:
1 cup light brown sugar
¾ cup sugar
8 Tbsp unsalted butter
10oz or about 1 ¾ cup dark chocolate bars, chopped
4 large eggs + 1 yolk
1 cup AP flour
½ cup chocolate chips
⅓ cup cocoa powder
¼ cup ovaltine (optional but recommended)
1 tsp baking powder
1 tsp kosher salt
-------------Method:
Prepare your ingredients: measure your light brown and granulated sugar into a large bowl, set aside.
Measure your AP flour, cocoa powder, ovaltine, baking powder, and salt into a small bowl. Mix well until fully homogenous using a whisk. Set aside.
Set up a double boiler: In a medium sized heat proof bowl, place your chocolate and butter, then set on top of a shallow pot of water. The bowl should not touch the surface of the water. Set flame to medium low heat and allow the water to come to a simmer. Stir your butter and chocolate regularly until the chocolate and butter have fully melted and become homogenous. Remove bowl from pot and turn off the heat.
Tip: you can also do this step in your microwave by heating in a heat safe bowl in 20 second increments, stirring well, and repeating until your chocolate and butter are melted and silky smooth. This will take a little more babysitting, and you run the risk of scorching your chocolate if you overheat it. But is totally possible.
Add your eggs and yolk to your bowl of sugar. Whisk all together until incorporated, then roll up your sleeves and continue whisking vigorously for 5 - 6 minutes. (Note: if using a stand mixer for this, use your paddle attachment, not your whisk. Paddle for 3 - 4 minutes on medium high, or until visual markers outlined below are reached.)
You are looking for your sugar/egg mixture to become more voluminous and pale in color, the texture should feel airy, and when lifting your whisk and letting the batter drip down, it should form loose ribbons that immediately dissipate back into your batter. (If you don’t work the batter at this point to this consistency, it will spread a little more in the oven than you might like, and you may miss out on the papery brownie texture on the surface of your cookies.)
Once this milestone is reached, slowly stream in your melted chocolate and butter mixture, until fully homogenous. (stand mixer: stream in on low setting).
Then, add your dry ingredients and stir in until no dry spots remain (stand mixer: mix in on low for 30 seconds, then scrape bowl and continue mixing by hand until no dry spots remain.)
Mix in your chocolate chips.
Cover bowl and place entire bowl into fridge for 20 - 30 minutes, then move on to portioning. Dough should be workable, but not fully set.
Prepare a tray or plate by lining it with parchment paper. Potion your dough using an ice cream scoop, or by using a ¼ cup measure. This should yield 16 even balls, each should be a heaping ¼ cup in size. Feel free to eyeball this as well, as long as you end up with 16 even balls.
Wrap your portioned dough well with plastic wrap, and place in fridge to fully set, for at least 2 hours.
-
If there is a chocolate recipe, I will add Ovaltine to it, end of story. If you don’t care for that malt-y moment, leave it out. The high proportion of invert sugar (corn syrup) helps this fudge stay silky, sticky, and chewy long after baking.
Ingredients:
5oz. or about ¾ cup dark chocolate bars, chopped
4 Tbsp unsalted butter
⅔ cup corn syrup
⅓ cup heavy cream
¼ cup ovaltine
3 Tbsp cocoa powder
1 tsp salt
1 tsp vanilla extract
-------------Method:
Combine the following in a large bowl: Ovaltine, cocoa powder, dark chocolate, butter, salt.
To a small saucepan add your cream and corn syrup, set over medium heat and stir to combine.
Bring to a boil, remove from stove, then pour cream mixture over the contents of your large bowl.
Stir everything together to make sure the cream mixture has covered all other ingredients.
Allow to sit for 1 minute so your butter and chocolate can melt.
Whisk together until all is homogenous and smooth. (if you have an immersion blender, feel free to use to obtain a smoother fudge).
Place fudge in fridge to fully set before proceeding to assembly, about an hour.
Fudge can be made up to a week ahead of time, stored in the fridge, or kept for a month in the freezer.
-
Portion and chill your fudge filling:
Remove fudge filling from the fridge. Once your fudge filling has set it should be firm but still pliable. Spray your hands with a little non-stick spray (or just literally rub your hands with some butter, no judgments) and pinch off a piece that is about 1 ½ Tbsp large. With your greased hands, roll your fudge into a ball, and place on a tray or plate (something that can fit in your freezer). You can eyeball the measurements for the fudge, but you want to end up with enough fudge balls for each piece of cookie dough (approx.16).
Place portioned fudge balls into the freezer for at least 30 minutes before moving on to assembly.
Assemble and chill your cookies:
Once your fudge balls are well chilled, remove from freezer, along with your chilled cookie dough. The goal here is to bore a hole into your portioned cookie dough, place the fudge inside, and encapsulate your chilled fudge within the dough. This can be a sticky messy process, so ensure your components are well chilled or it will make this process much harder.
Using your thumbs, bore a hole into the center of your chilled dough, slightly larger than large enough to hold your frozen fudge ball.
Place frozen fudge ball within, then pinch and squeeze your dough around the fudge until fully encapsulated. Roll a few times in your hands to shape into an even ball. Inspect your dough and ensure that you smooth together any cracks in the surface of the dough, this will help ensure no fudge leakage upon baking.
If pursuing the heart shape:
Hold dough ball in one hand and with your dominant hand use your pointer finger to press a dent in the top of the dough. Then, create a ‘V’ shape with your thumb and pointer finger and pinch the bottom to create a slight point. Play around a bit (who says you can't play with your food?!) to get as close to a heart as possible!
Otherwise, place onto a lined tray, and repeat for all of your dough. Feel free to get creative with your fillings (I added a swipe of marshmallow fluff inside a few of these cookies along with the fudge and it was great).
Once all dough has been assembled, wrap well in plastic wrap and place in the freezer for at least 1 - 2 hours, or better yet, overnight.
These assembled cookie dough balls can be kept in the freezer, unbaked and well wrapped in plastic, for up to a month, ready to be baked whenever you want.
Bake: When ready to bake, preheat your oven to 350 f. Once heated, Line a baking sheet with parchment paper. Bake 6 cookies at a time, dough pulled right out of the freezer, evenly spaced on your tray. Top with flaky salt, if desired, right before baking.
Bake for 15 - 17 minutes. Your cookies should spread enough to double their footprint, puff slightly, and give you that signature crackly brownie skin. It’s better to slightly underbaked these cookies than over bake them (they are lava cookies after all.)
If pursuing the heart shape: These cookies, as mentioned in the note above, want to spread. So, odds are, they’ll end up looking pretty blob-y right out of the oven, even if you pre-shaped them into hearts in the dough stage. To combat this here’s what I did: directly upon taking them out of the oven, using a small offset spatula or the back of a spoon, scoot and squish the edges of each cookie back into that heart shape. Since the dough is still hot and pliable, if you sculpt it into a heart shape now, it’ll hold once it’s cooled. Again, this is a pretty artistic endeavor that also requires working with molten hot dough, so do so at your own risk.
Once sculpted, allow to cool to the touch, make sure to use a spatula to remove these cookies from their tray (their bottoms will be a little delicate due to the molten fudge filling.)
If leaving round: Remove from the oven and allow to cool to the touch, make sure to use a spatula to remove these cookies from their tray (their bottoms will be a little delicate due to the molten fudge filling.)
I love eating these still slightly warm for the oven to really drive home that ooey gooey lava situation, but they keep well covered at room temperature for 2 - 3 days.
Photos by Caroline Arcangeli
originally published on milkbarstore.com

